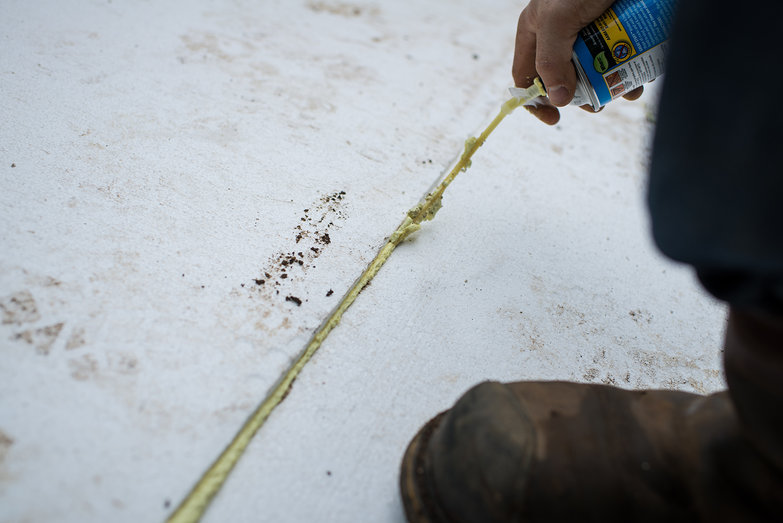
With our concrete form built, and its interior foam over 6mil plastic installed, we applied two additional moisture barriers. First up, we filled any gaps between our 4'x8' sheets of EPS insulation with minimally expanding foam. The kkkhschhhhh of yellow ooze shooting out of the canister reminded of playing with silly string as a kid, and watching it hemorrhage out of the cracks as it burgeoned in size was strangely satisfying.

As it turns out, I should have worn gloves for this step. Spray foam is pretty nasty stuff—scraping the jaundicey gunk off my hands after it dried was impossible! The only thing I can compare it to is super glue, except way, way worse. I also smeared some of it on the knee of my work jeans accidentally. It has since hardened into a rubbery patch of brownish grossness.
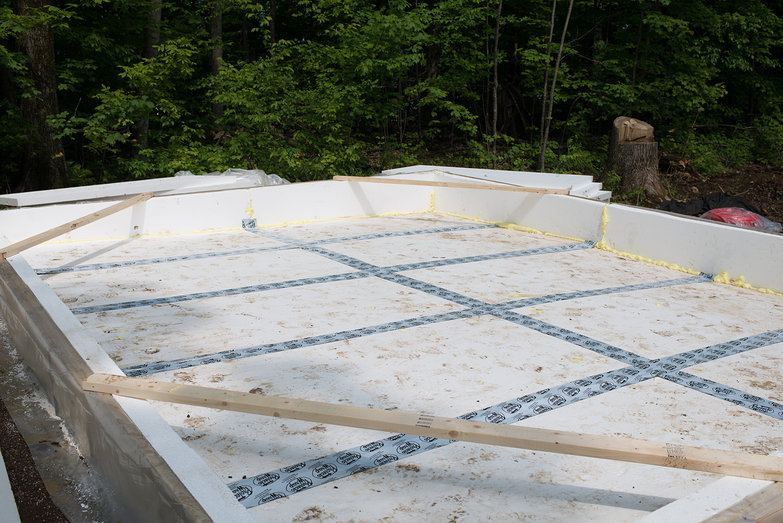
After cleaning our mess of foam, we moved on to our foundation's final moisture-prevention detail: weatherproofing butyl tape. Working together, we rolled "protecto-o wrap" over all the seams between our sheets of insulation. I was initially worried that it wouldn't stick to the foam, but the tacky asphalt-based material adhered firmly.
 Between the plastic vapor barrier we've placed below our sheets of insulation, the spray foam we've used to fill the cracks between them, and butyl tape sealing the seams, we should be well protected from ground moisture wicking into our slab.
This is kind of like making a layer cake!
Tara
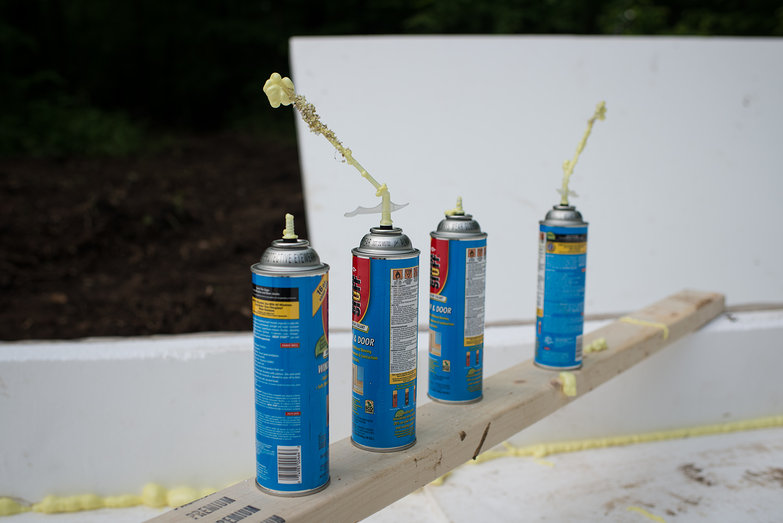
When the job was complete, we stood back surveying our work proudly. Next to the foundation was a small pile of EPS foam pieces, several empty aerosol cans, and small amount of plastic and cardboard packaging. All of the non-recyclable waste fit in a 20 gallon garbage bag, but as we cleaned up, I couldn't help but think how much more must be created when building a "regular" house!

Next up, we fill most of the form with 3/4" stone to shape the concrete slab, and lay wire mesh and rebar for reinforcement.